One of my favourite cold connection methods is riveting. It takes some practice to make good rivets but once you get the hang of it, it may become a favourite of yours as well. There are many different kinds of rivets and different ways to set them. Pop rivets, solid rivets, tube rivets, split rivets, double rivets; these are all types that you can buy in a store and they are used in many different industries and applications. For this series of posts though, I’m going to concentrate on two kinds of rivets, both of which you can make yourself; wire rivets and tube rivets.
Wire Rivets
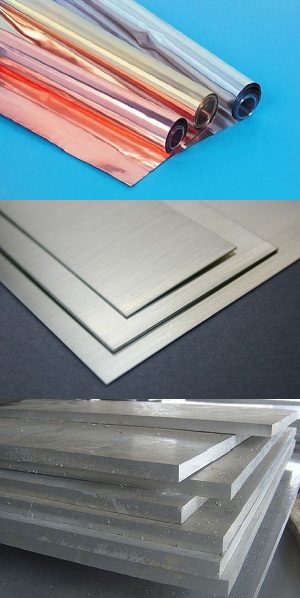
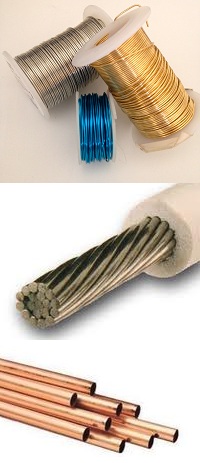
This is the largest category, as it is the most common and versatile type of rivet. Wire rivets are also the simplest to make. All you need for materials are the pieces you wish to have riveted together and a length of wire to make the rivets. I would recommend using 18 – 14 ga wire. Anything smaller than 18 ga would make for a fairly weak rivet, not to mention the difficulty in trying to set it. The wire needs to be fairly soft to rivet easily. If you’re not working with dead soft wire, you may want to anneal it.
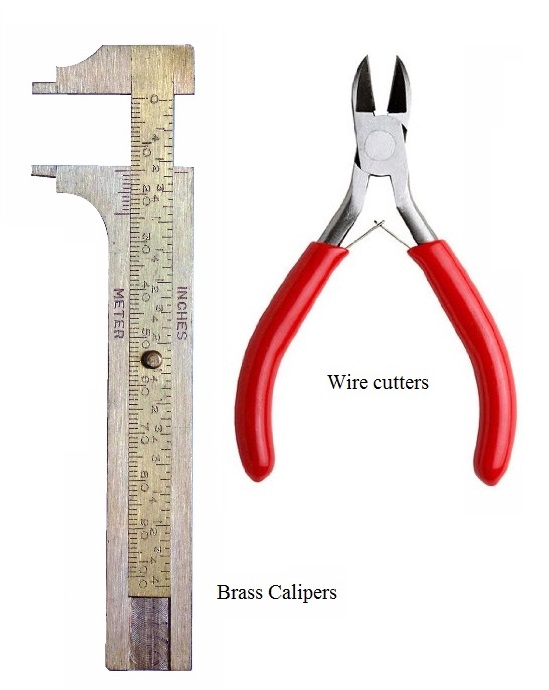
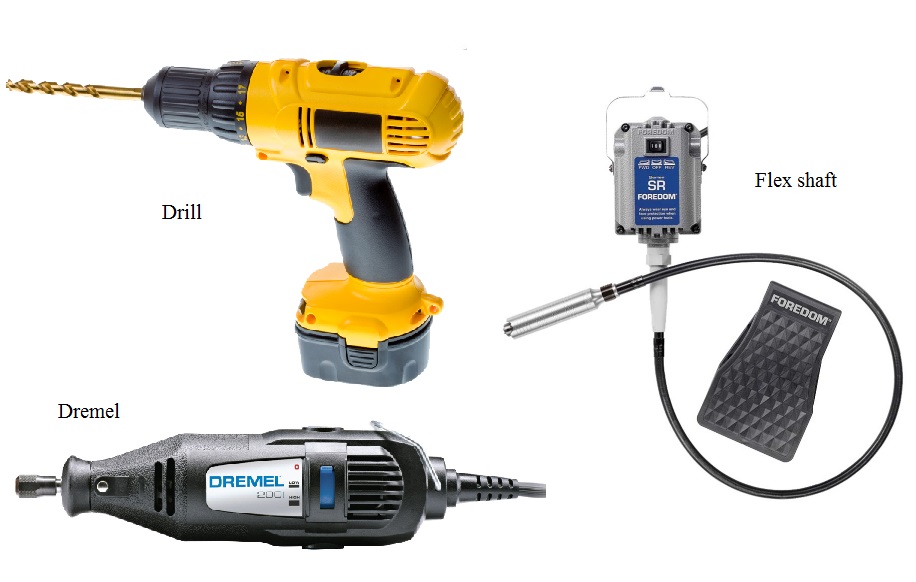
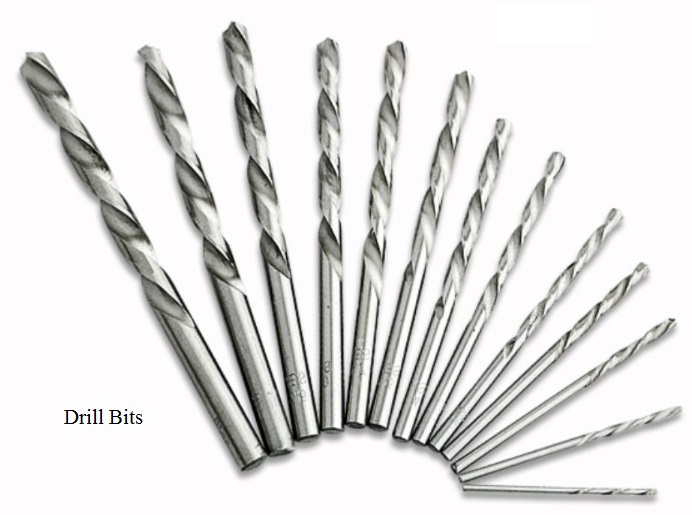
These are some of the tools you’ll need to do your riveting. Most of them will already be familiar to you.
|
|

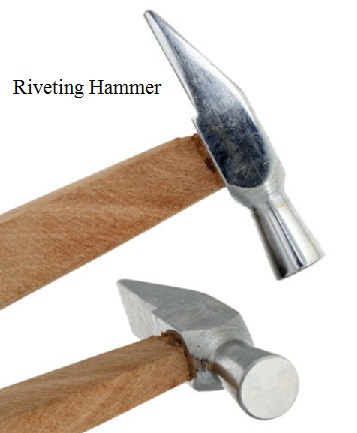
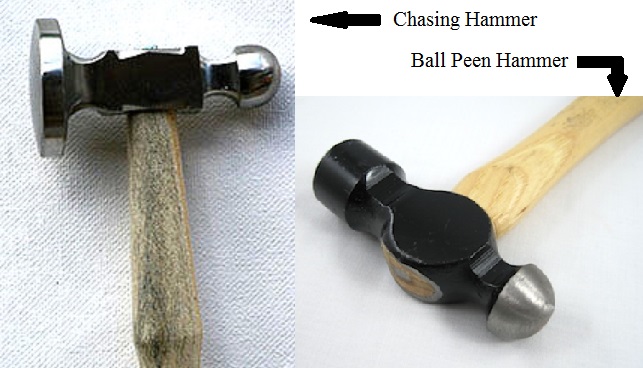
You will also need some hammers, specifically, a riveting hammer and/or a small ball peen or chasing hammer.
A riveting hammer has one flat face and one thin edged face or cross peen which is used to start and expand the rivet head.
A small ball peen hammer also has one smooth flat face; the other side is a ball. Choose the smallest ball peen you can find. Personally I’ve only used the ball peen hammer for setting rivets, though I do understand how the riveting hammer can be an asset.
So let’s get straight to riveting!
- The first step is to measure the total thickness of the materials you want to join together.
- Now you need to figure out how much wire you need to make your rivet. There are a number of different opinions on just how much wire should be sticking out on either side of your materials. Some say a length equal to the thickness of the wire, others say less than 1 mm, and still others suggest up to 1.5 mm. Everyone agrees though; if you cut it too short, you won’t have enough to make a secure head. If you leave it too long, the rivet may buckle or you may end up with a messy head that requires a lot of clean up. Personally, I find that leaving about 1 mm sticking out each side works well. As you gain experience, you can play with the length and see what works for you. File both ends of the wire flat.
| TIP | Tape a couple of playing cards together, or find a piece of scrap the right thickness. Punch or drill a small hole in it. Put one of these handy little guides on each side of the materials you want to rivet. Put your wire through this sandwich and cut it flush on both sides. Voila! Consistent and equal length for your rivets! |
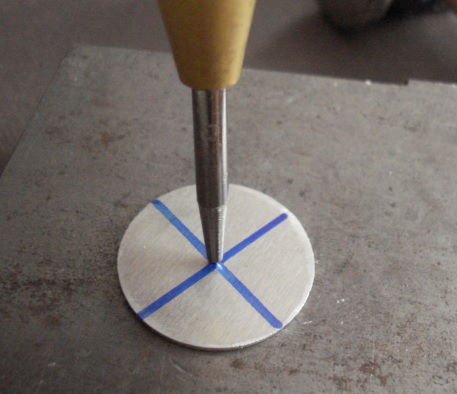
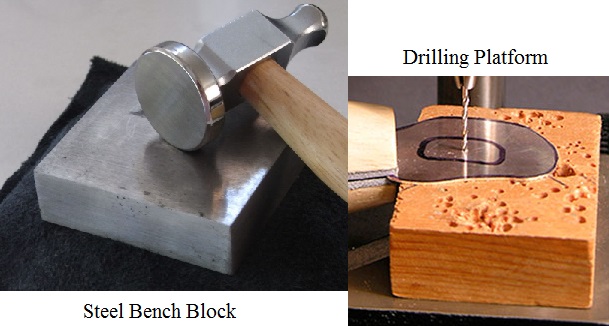
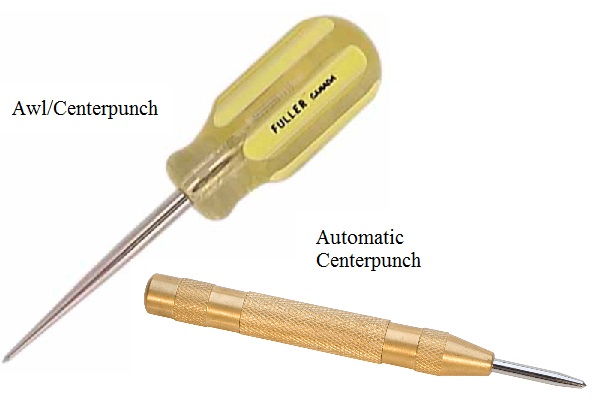
Put the materials on a steel block, and use a centre punch to make a divot where you want to put your rivet holes. The divots will act as a guide for your drill bit so it won’t chatter all over your piece before biting in and drilling the hole.
Now place the material on your drilling platform. (I use a scrap piece of a 2x4, but any small flat piece of wood at least 1” thick will do.) Using a bit the same size, or slightly smaller than your wire rivet, drill the holes in the materials, using the divots as your starting point. The drill should already be turning slowly before it touches the metal. Putting the drill on the metal and then starting it really heightens the chance of breaking the bit. Don’t forget to lubricate your drill bit! Let the bit do the work, you shouldn’t have to use a lot of force to drill the hole. If you find it’s not working well, make sure the bit is turning the right way. Some drills and flex shafts are reversible. If you still have to push hard to get the bit to go through, then your bit may be dull. Use a new bit, or sharpen the old one.
Often, when the drill bit punches through the other side of the materials, it will leave a jagged edge around the hole, called a bur. The burs need to be cleaned up so that you have a smooth surface. You can do this a number of ways; the easiest is to use a larger drill bit. Just hold the bit in your fingers, place the cutting tip on the hole you just made and give it a twirl or two. That should shave away the burs. Be careful though, if you turn it too much, you’ll remove more material than you want.
The wire should fit snugly through the hole. If the hole is slightly too small, use a diamond bit reamer or a small round file to enlarge it a bit. File slow and check the fit often, you don’t want to end up with a hole that’s too big. Does the wire fit nice and snug? Now you’re ready to rivet!
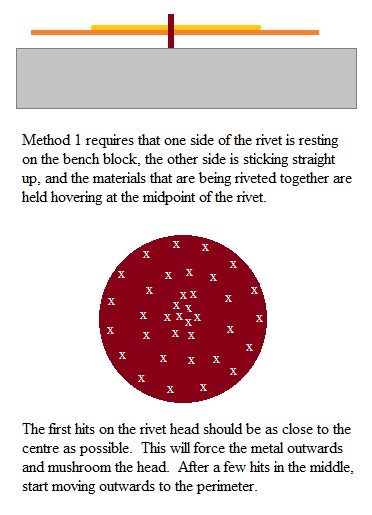
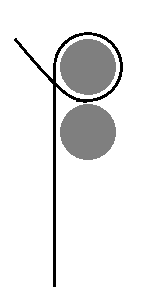
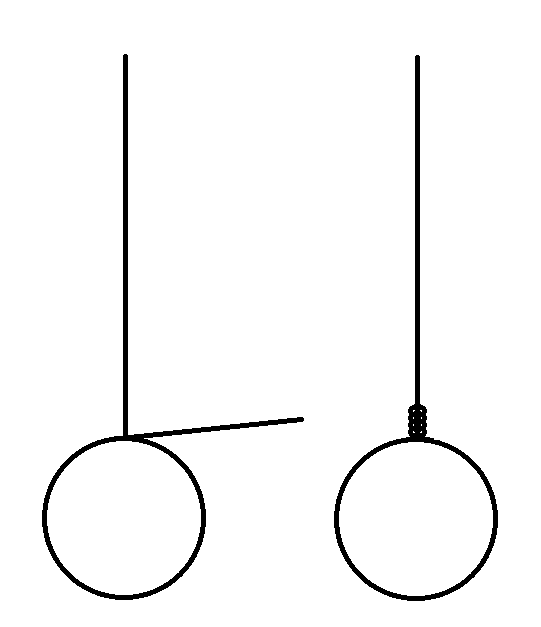
Starting the rivet is the trickiest part. There are different ways to do it; I’ll share the one that I learned first. This requires a fair bit of patience, coordination and practice, go slow, and make your hits lightly. Arrange your materials and tools so that you will be working at near eye level. It’s very helpful to have a support on which to rest your non dominant arm. With that hand, hold the pieces you’re riveting together (taping the pieces together will help keep them aligned). Your wire rivet should be in place; you want one end up in the air, the other end resting on your steel bench block. You have to keep the materials hovering in the middle. This is a good test of your dexterity! The way I learned to start the rivet head is by using the small ball been hammer, tap the face of the wire lightly a few times, starting in the centre and then working your way around the perimeter.
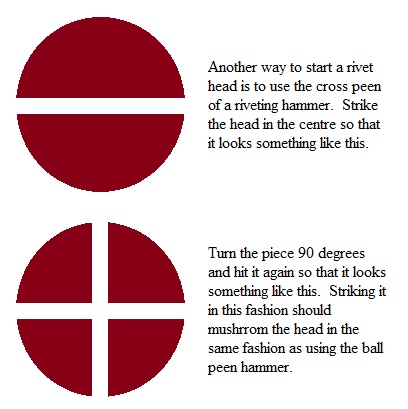
The other way is to use the cross peen face of a riveting hammer to hit the face of the wire, then once more 90 degrees from the first hit.
Whichever method you choose, once you've started the head on one side, turn the piece over and do the same to the wire face on the other side. Continue to tap the wire lightly, trying to strike each side an equal amount. The goal is to get the end of the wire to mushroom and spread out. Don’t tap too hard or you’ll bend the rivet. Once the wire has spread out enough that it can’t be pulled through the hole, it gets easier. At that point, you just have to keep tapping, using the ball peen hammer and turning the piece now and again so that each side is hammered equally. When the danger of bending the rivet has past, you can tap harder, though you do want to be careful not to mar the materials you are riveting. At this point, some people say to switch to the flat face of your hammer, I continue with the ball peen.
So how long do you have to hammer? That depends on the answers to two questions:
Is the rivet solid and secure?
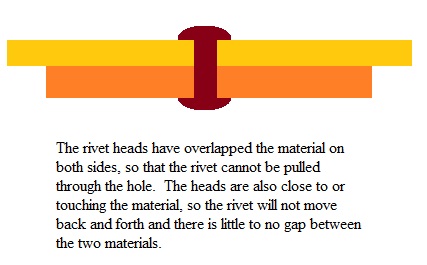
The rivet is really considered to be secure when there is enough metal overlapping the hole so that it won’t pull through or fall out. You also don’t want to see a lot of back and forth movement in the rivet as a general rule. The pieces may swivel on the rivet, but that is normal.
Is the rivet solid and secure?
The rivet is really considered to be secure when there is enough metal overlapping the hole so that it won’t pull through or fall out. You also don’t want to see a lot of back and forth movement in the rivet as a general rule. The pieces may swivel on the rivet, but that is normal.
Does it look the way you want it to look?
The appearance of the rivet head is really up to you. Here are some tips to achieve some different looks.
The appearance of the rivet head is really up to you. Here are some tips to achieve some different looks.

Dome
Once the rivet is set, focus the hammering along the perimeter of the head to flatten the sides. Be careful not to strike the main body of the piece. If you can run your finger across the rivet and you don’t feel any ridges or sharp edges, you’re done hammering. You can clean it up with some sandpaper and/or buffing compound, but don’t overdo it! You’ll undo all your hard hammering work.
Straight edge Head
Set the rivet and then clean it up. The only problem with this shape is that it tends to catch on clothing and what not.
Simulated Screw Head
This look is easy to achieve with either the domed or straight edge heads. Using a jeweller’s saw, or a small triangular file, cut a groove across the centre of the head. This is a great look for steampunk pieces.

Counter sunk Head
Also called a “disappearing rivet”, this type has to be thought out a little beforehand. If you want the surface of our piece to be perfectly smooth and flat, you can’t just sand down the rivet head or you’ll just end up removing it. Instead, you have to make a small space below the surface of the material that will be filled by the rivet. There are special countersinking bits available, but a larger drill bit will work just as well. I suggest doing this by hand or with a pin vise as a drill or flex shaft may work too fast and you’ll just end up with a bigger hole.
Also called a “disappearing rivet”, this type has to be thought out a little beforehand. If you want the surface of our piece to be perfectly smooth and flat, you can’t just sand down the rivet head or you’ll just end up removing it. Instead, you have to make a small space below the surface of the material that will be filled by the rivet. There are special countersinking bits available, but a larger drill bit will work just as well. I suggest doing this by hand or with a pin vise as a drill or flex shaft may work too fast and you’ll just end up with a bigger hole.

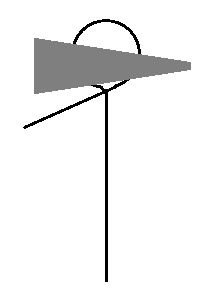
Put the tip of the large drill bit in the hole you have drilled (make sure it’s on the outside surface of the piece!) Just turn the bit slowly a few times until it has shaved a bit of metal from the edges of the hole. It should look like this:

Now assemble your piece, making sure the countersunk holes are facing out, and rivet as normal. As the metal spreads out, you may want to switch to the flat face to finish it. The metal will spread into the void left by the bit and will still be a secure rivet when you sand the outside perfectly flat.
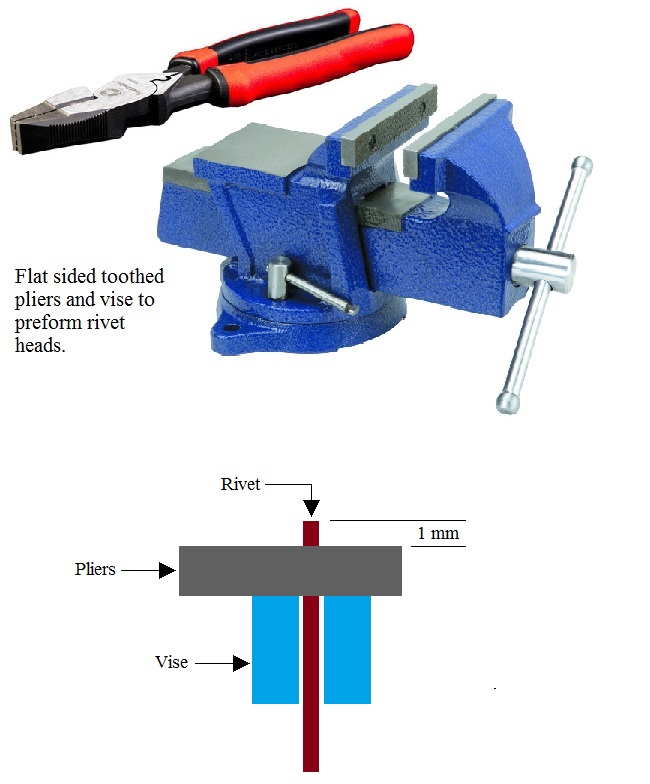
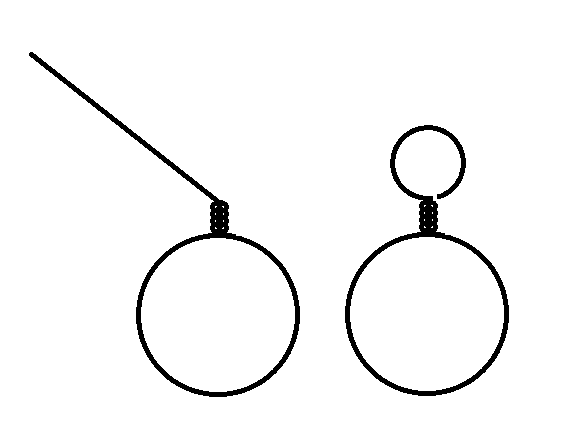
If you don’t want to do the balancing act as I described above, you can also pre-form the rivet heads. If you don’t’ have a torch, then you’ll need a flat sided pair of toothy pliers and a vise. Grip your wire with the pliers, with 1 mm sticking up and the rest sticking down between the jaws of the vise. Hammer the wire as I described before until it has expanded enough that it won’t pass through the hole. Then assemble your piece and hold it with the preformed head resting on the steel bench block and finish setting the rivet as I described above.
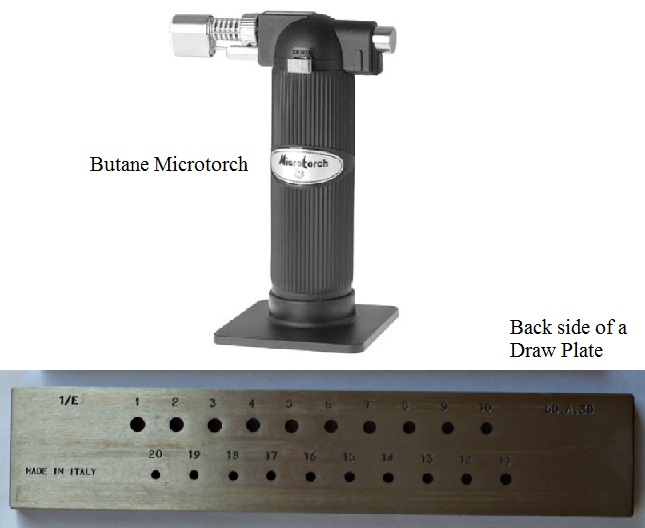
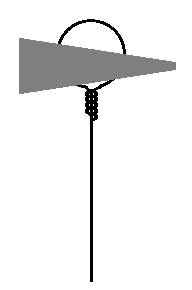
There is an even easier way to pre-form the head if you have a torch. It doesn’t need to be a full oxy/acetylene or oxy/propane set up, a butane micro torch will work fine. What you need to do is draw a bead on one end of the wire, and here’s how.
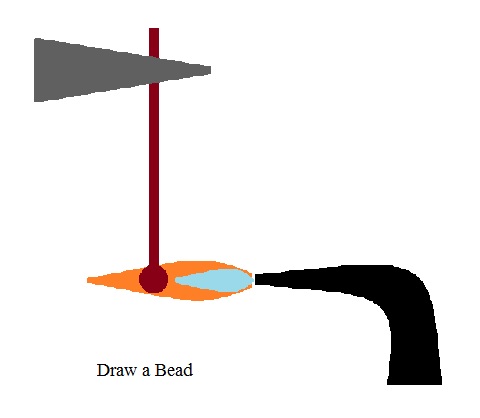
Cut a short length of wire, dip it into some flux (most important for sterling silver) Hold the tip of the wire in a pair of pliers (use ones that you don’t mind getting burned), with the wire pointing down. Turn on your torch and hold the end of the wire in the flame, just in front of the inner cone. It won’t take long before the end of the wire melts and draws up into a ball. Remove the flame, quench the wire and pickle if needed. The size of the bead will determine the size of the rivet head.
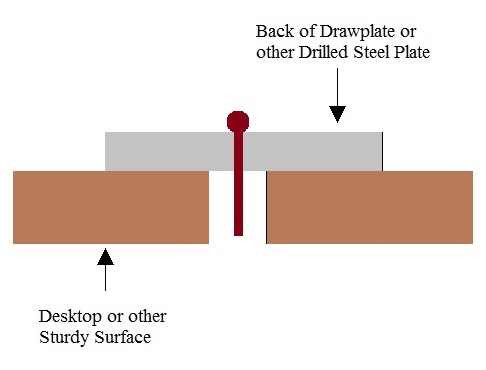
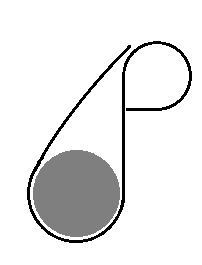
Using the rear side of a drawplate, or a piece of steel plate with a hole the same size as the rivet drilled through, insert the wire through the plate so that the balled end is resting on the plate and the rest of the wire is protruding through. Set the plate on a sturdy surface, making sure there’s a spot for the wire to hang in. Hammer the ball into the shape you desire, then assemble your piece and hold it with the preformed head resting on the steel bench block and finish setting the rivet same as above.
Riveting Tips
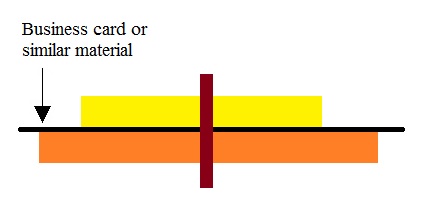
Normally, a piece that is riveted together is fairly solid, there’s not a lot of movement, though it might swivel slightly with pressure. If you want your pieces to swing freely, simply insert a very thin piece of cardboard or thick paper between the materials before you start riveting. A business card works just fine. Once your rivet is set, soak the entire piece in water and the paper will become soft and start to dissolve, making it easy to remove. Another option to remove the paper is to burn it out, but that will require more clean up.
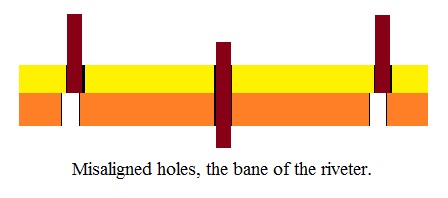
If you making a piece with multiple rivets, don’t drill all your rivet holes at the start! Drill your first hole, set your rivet, then drill another and set your rivet. Then go ahead and drill the rest of the holes. The pieces are held securely together and you can drill with precision. It’s so frustrating to measure carefully and drill all your holes, and then find they don’t quite match…..

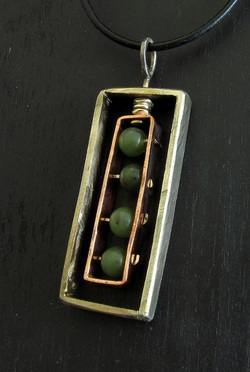
You can make pieces with a little more dimension to them by leaving space between the materials. All you have to do is insert a short length of tubing between the materials, making sure the rivet goes through the tube. I’ve found that crimp tubes just the right diameter for 18 ga rivets, and they’re already precisely cut to size, with perfectly flat ends. Believe me, that saves a lot of time!
Next time, tube rivets! Happy creating!


 RSS Feed
